7.12.2008

Bowser shirt

Finally done. Never want to see it again :)


I haven't knitted in way too long. I need to up my craftiness.

5.01.2008

Accomplishments and Failures as of Late

Guarantee has always been a hard word for me to spell.

Exciting things in the life of Lauren.

Got pictures of baked Cup Pies.


Finished Clapotis.


Finished Lelah in less than three days for my first KAL.


Got a fancy new camera. A Canon EOS 20D which I've been eying for almost a year.


Probably got my first D in my computer organization class. poo.

That's right David, it is sad.

Oh well. I'm transferring and I could care less at this point. I'm working on David's little brother's shirt again, the epic Bowser vs. Mario cross stitching. I want to, nay, I will, have it done for his birthday which is May 17. I don't have any current work in progress shots because it's three in the morning, but I'm nearly done, a lot more than the picture. All but the white and a little bit of the orange in the smile is done in the Bowser area, and Mario has hair and a mustache.
This is the design.

and this is how it's going.


I also cast on the circular shrug while I was trying to study for my comp org exam, because I needed mindless ribbing. I have no idea how it's going to work out or if it's going to, I feel shady about it.

Life is probably going to get really easy for awhile, and then really hectic when moving time comes. I'm going to take the easy time now and devote it to Mario Kart Wii and Professor Layton. Yes.

4.13.2008

Nintendo time.

Since I posted my DS case pattern yesterday, I figured I'd continue with the Nintendo theme and share what I made for my past and future roommate, Courtney, for Christmas. She just got a new car so I thought a fuzzy dice-esque hanging delight would be in order. Her boyfriend and her relationship is basically centered around the original Super Smash Bros. She always fights as Kirby and he always fights as Ness, so I present, cross-stitched Smash not fuzzy not dice!


I embroidered their nick-names on the back of their corresponding warriors.


And I can't take credit for this one, but it's still so awesome. My friend Lily, sewed this awesome Mario pillow for me for Christmas. It pretty much rocks.


Yup, that's all for Nintendo crafts today. There are more though, don't worry. I have to stop futzing around now and get ready to see David for his birfday!

Nintendo DS Case with Game Pockets

DS Case with Game Pockets


I carry a gigantic purse with me almost everywhere I go, to the displeasure of most of the people I go places with. I do this because I like to have a lot of stuff on me: my camera, wallet, keys, knitting, mp3 player, brush, cross-stitching, bus maps, and of course, my Nintendo DS with extra games. All are necessary to have with me wherever I may go. Unfortunately, the DS does not get along with the other things in my purse; therefore I decided that it needed its own tiny little home in my bag. To decrease on the amount of things I carry around, the case has a place for game cartridges, because the game case I stuck them all in before took up quite a bit of room. I am also a chronic buyer of novelty yarn that I never use because although I love it on the spool, it never looks good knitted up. This case was the perfect stash busting way to get rid of some of my ribbon yarn, gracefully, by mixing it with an inoffensive plain cotton yarn. You can make this a stash busting project for your own stash by substituting any worsted weight yarn, or any yarn, as long as you adjust for your gauge.

Materials: 1 skein of Rowan Handknit Cotton in Shell
1 skein of Filati FF Karnak in color #3004 Teal, Pink, Orange, Grass
US #8/5mm straight needles
Tapestry needle
Two buttons

Gauge: 16 sts and 24 rows/4"

CO 27 sts with both yarns, or the gauge of your yarn x 6.75 inches
Knit in stockinette stitch for 9” holding both yarns together.
Here, I bound off then picked up 27 stitches from the bind off edge and worked 1 ½” in stockinette, but thinking back a better solution would have been to work a purl row on the rs of the fabric then go back to knitting the rs and purling the ws for another 1 ½”. Either way, BO after 1 ½”.

Pockets: Fold the CO edge 3” up with the wrong sides facing. Mattress seam along the sides of the work to create a pocket for the DS. Fold the 1 ½” after the picked up sts or purl row down and mattress seam long the sides. Use a game cartridge to measure along the top pocket (should be about 6 sts per pocket) and sew vertically, catching the back loop of the stitches from the inside of the pockets to make it invisible.


Straps:
Pick up 3 sts with the ribbon yarn about 1 ½” from the left side of the front of the top of the case (see picture for a less confusing explanation) plain stockinette (you could do i-cord although it doesn’t really matter here since the stockinette will roll up into a tube anyway) for 8 ¼” or until it wraps comfortably around the case with the DS inside, ending on a wrong side. On the next row: K1, Yo, k2tog to create a button hole. Next row: P 3 sts Next row: BO all sts.
Work the same for right strap.


Finishing:
Sew in ends and attach buttons on top of where you picked up sts for the straps. I didn’t have any buttons so I made makeshift ones by tying the cotton yarn into little bobbles. Optional: attach your favorite cross-stitched video game character to the back. Sprite stitch has a great collection of patterns but 8 to 16 bit video game characters are practically cross stitch patterns by themselves. I just threw a grid on top of Yoshi in Photoshop, making each pixel a stitch, and cross-stitched away.

Blogging.

Ok. So I guess I'm blogging now. I usually journal, at Deadjournal, which I've done for 6 years, but now I am blogging.

My Clapotis is coming along well. I think I'm going to have to do more than 13 repeats of the straight rows but what can you do. I wanted a really light springy one, so I used lace weight yarn and that's what I get.


I made cup pies last night. They are practically the most exciting thing I've done in a long time. Yes, that's right. Baking on a Friday night is the most exciting thing I do. I got the idea from Pushing Daisies, which I love and can't wait until it comes back this fall, and implemented it with help from here. The recipe, however, is all part of the Great Apple Pie Project. Oh, you are not familiar with the Great Apple Pie Project? Let me acquaint you.

On Tuesday, February 26, I decided I wanted to master the art of making an apple pie. If I can find the perfect apple pie recipe, I feel that I will be on my way to great things in the world of baking...

If you are interested in the rest of the story, you can find it here.

Anyway, I ended up with 12 cup pies, which are only 3 Weight Watchers' points each! My first healthy baking. :D I wish I had gotten smaller mason jars but oh well. There will definitely be more cup pies in my future.


Anyway, I'm writing up the pattern for my Nintendo DS case, and it will be posted shortly. Yay!

4.12.2008

The Great Apple Pie Project

This is a diary of the project that I've been keeping in OneNote. Here it is, released on the internet world:

On Tuesday, February 26, I decided I wanted to master the art of making an apple pie. If I can find the perfect apple pie recipe, I feel that I will be on my way to great things in the world of baking.

Feb 26: I started the old fashioned way--looking through cookbooks and ignoring the internet. I started in my favorite dessert cookbook of all time, the Family Circle All-Time Favorite Recipes. I found a recipe, but I wanted to double check it against my mom's old standby, the Fannie Farmer cookbook. I wasn't crazy about the way the Fannie Farmer one sounded, so I just made the Family Circle one as is. Wasn't too sure about how to make the crust, so I made it all in the food processor, which I later found out was a no-no. I did the lattice top all wrong, but it looked ok. It came out really well though. I was surprised for my first time.

Mar 1: After the first attempt, I invested in an actual pie dish, because I just made the first one in my round cake pan. So then I searched the internet, specifically allrecipes.com and I found Grandma Ople's pie recipe which was the highest rated on the site. So I wanted to try it but I also like a lot of the aspects from the first pie, such as the variety of apples and the sautéing. So I wanted to incorporate it into the new recipe. Unfortunately, the sautéing made the apples a little too watery for the sauce in this recipe. I also wanted to try out the Pushing Daisies concept of Gruyère in the crust. I searched the internet and got an idea of how to do it. I liked the Family Circle crust recipe though, so I just added the cheese to that. The crust was absolutely delicious. I did much better on the lattice top this time as well. Whereas the first pie was delicious hot and with vanilla ice cream, this pie was good cold and without.

Mar 7: I thought that I had the perfect recipe. The filling from the first pie and the crust from the second. So I whipped one up to bring home to my parents but even as I was making the crust, I could tell something was wrong. It didn't taste nearly as delicious as the first time I made it while I was making it. It had a really harsh taste and I think it was the shortening. I perfected the lattice top this time. My parents liked it but I knew that it was all wrong.


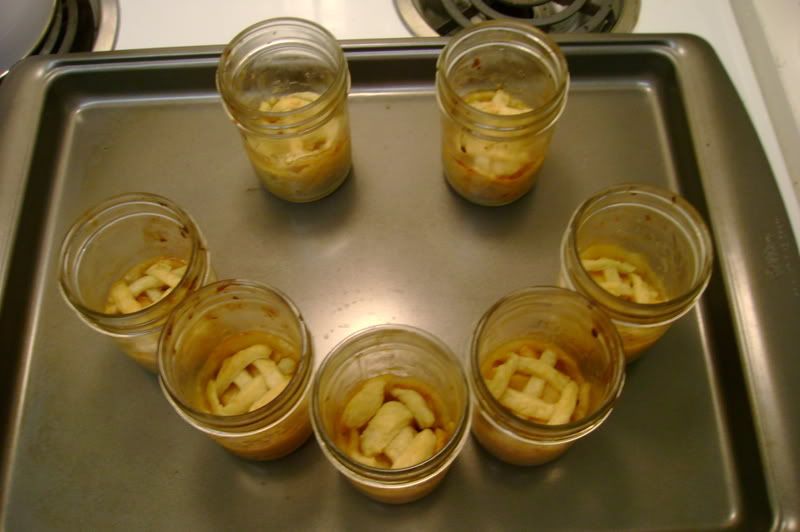
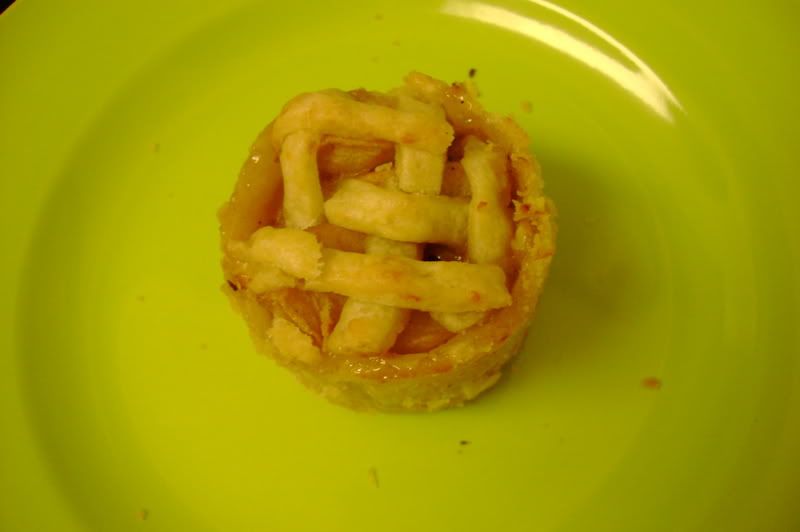
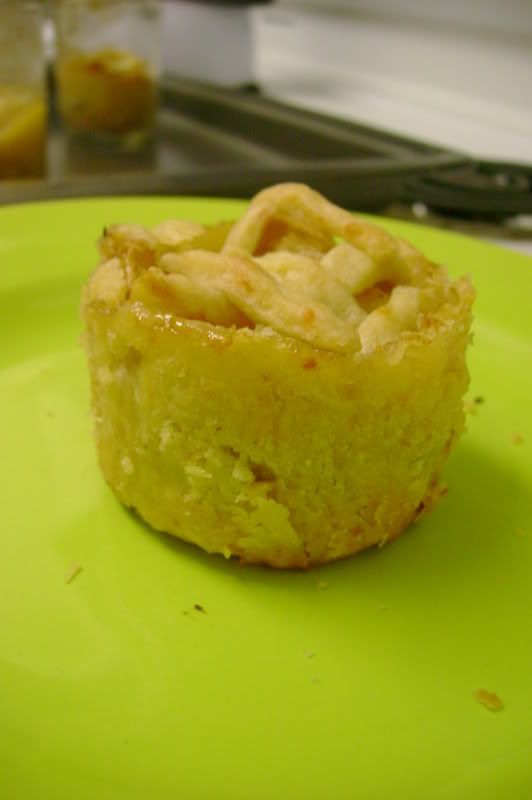
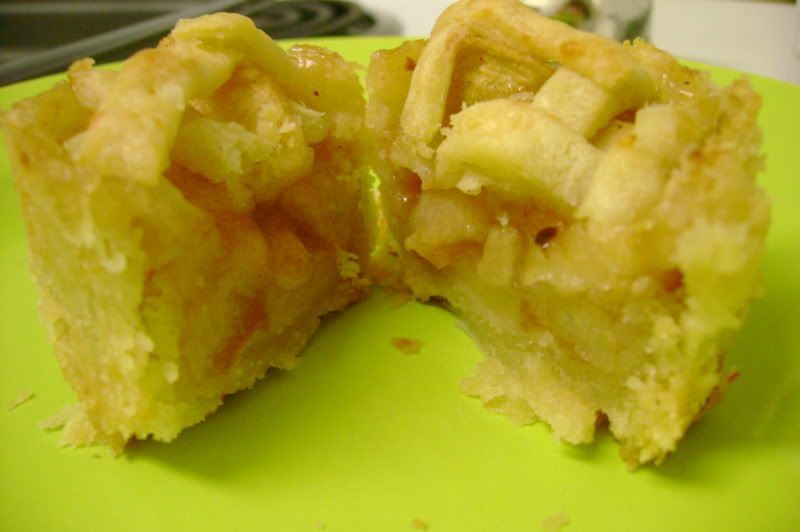
Apr 11: The last pie made me a little downtrodden so I took a little time off from pie baking. Couple of weeks went by and I bought an apple machine. So I decided I wanted to make cup pies to try it out. Also David's birthday was in a couple of days. Unfortunately, he was on Weight Watchers. So I decided to modify my recipe to make them diet-friendly. Also the cup pies are all the same portion which is good for figuring out points. So I made the crust with only 70% vegetable oil margarine instead of butter and shortening. I also replaced the sugar with Splenda. I kept the Gruyère in the crust and was very careful with the food processor. I only used Granny Smith apples. I cut them into smaller pieces and sautéed them. Shoved the crust into mason jars, filled with the apples and put tiny lattice tops on top. They came out delicious! I think I've found it. The perfect pie plus tiny plus healthy equals yayayayay!


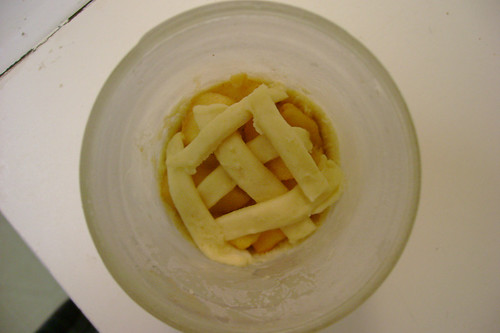
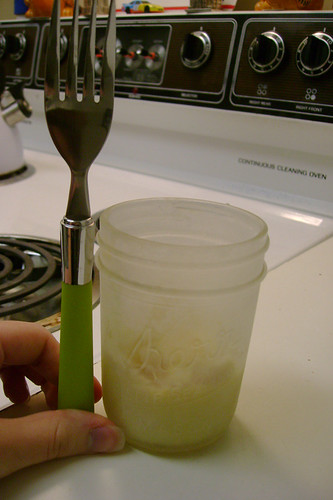
I only have picture of them frozen, not cooked.

Lauren's Great Apple Pie Project Winner:
3 Weight Watcher Point Cup Pies

Crust:
2 1/4 cups all-purpose flour
1 pinch of salt
2 sticks of 70% veg oil margarine
1/4 cup (2 oz) of grated Gruyère cheese
5-6 tablespoons of cold water

Filling:
2/3 cup Splenda (or sugar if you don't want it too healthy ;D)
2 tbs cornstarch
1/2 teaspoon ground cinnamon
1 pinch of nutmeg
1 pinch of ground cloves
2 1/2 lbs Granny Smith apples (or a combination of mcintosh, golden delicious and granny smith)
1 tbs of lemon juice
1 tbs of margarine

12 1/2 or 1/4 pint mason jars

Heat oven to 450
Crust:
1. Mix flour, salt, and grated Gruyère in food processor
2. Add cut up sticks of margarine
3. Pulse food processor until margarine is pea size.
4. Move mixture to a large bowl and add 1 tbs of cold water, one at a time, while mixing with your hands or a fork, until dough sticks together.
5. Roll into ball and wrap in plastic wrap, squish into a disc and throw it in the freezer for 30 minutes. If not used in 30 minutes, move from freezer to refrigerator.
Filling:
1. Combine Splenda, cornstarch, cinnamon, nutmeg and cloves in a small bowl
2. Peel, core, and slice apples. Drizzle lemon juice over apples.
3. Melt margarine in a pan. If just using Granny Smith, sauté all apples for 10 minutes or until soft. If using a mixture, sauté all but McIntosh. Cool to room temp.
4. Combine all apples and toss with Splenda mixture
5. Line bottoms of mason jars with crust, about 2" up from the bottom of the jar.
6. Add apples to the mason jars.
7. Add a top or lattice crust on top of the apples.
8. Bake at 450 for 10 minutes. Then lower to 350 for another 30-35 minutes.

You can either bake them all at once or pop the prepared cup pies into the freezer. Tada!